Foreword
This is a tutorial post explaining how to use Cloudflare to set up Bitwarden and use a self-hosted Bitwarden instance. The main code contributions come from open-source code on GitHub. Without further ado, let’s get started.
Prerequisites
- A GitHub account
- A Cloudflare account with an R2 bucket enabled (a credit card is required)
- A domain accessible in mainland China that has already been hosted on Cloudflare
Main Tutorial
Click this link for one-click deployment: Deploy with One Click
After clicking, you will see the following image:
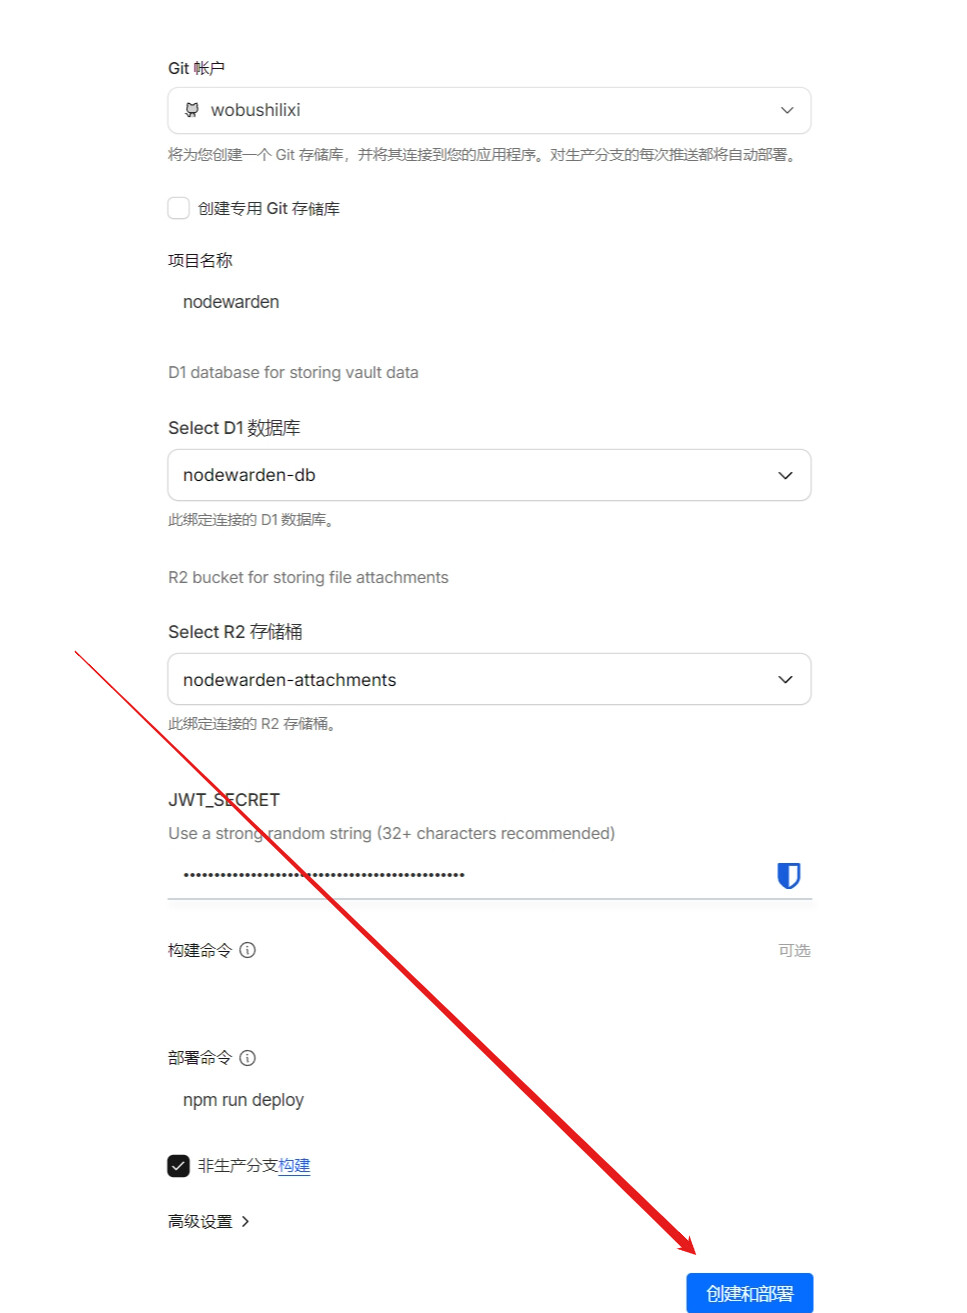
Click Create Deployment and wait for the deployment to finish…
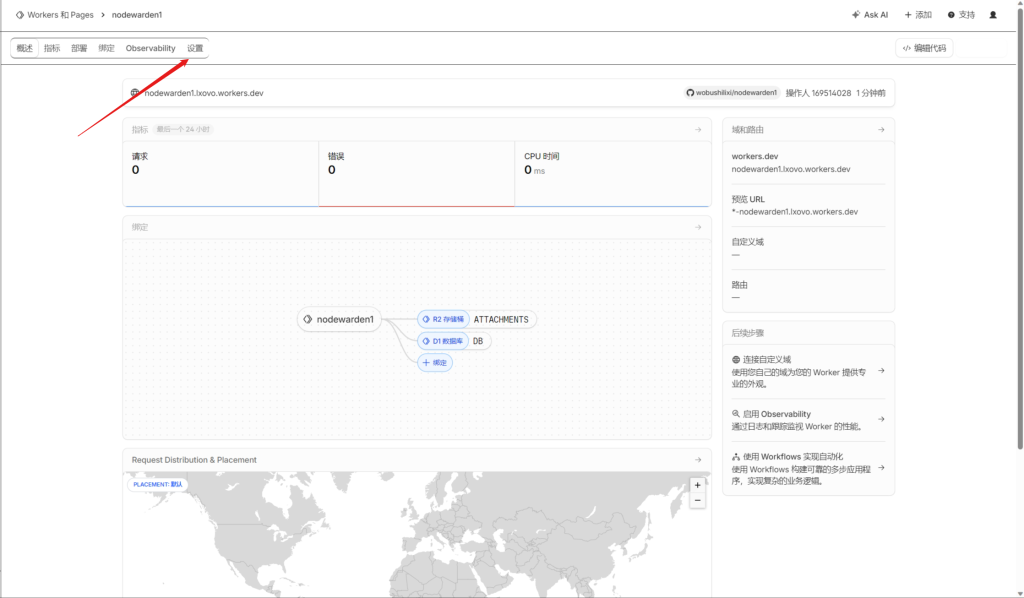
Once the deployment is complete, click Settings:
Add your domain:
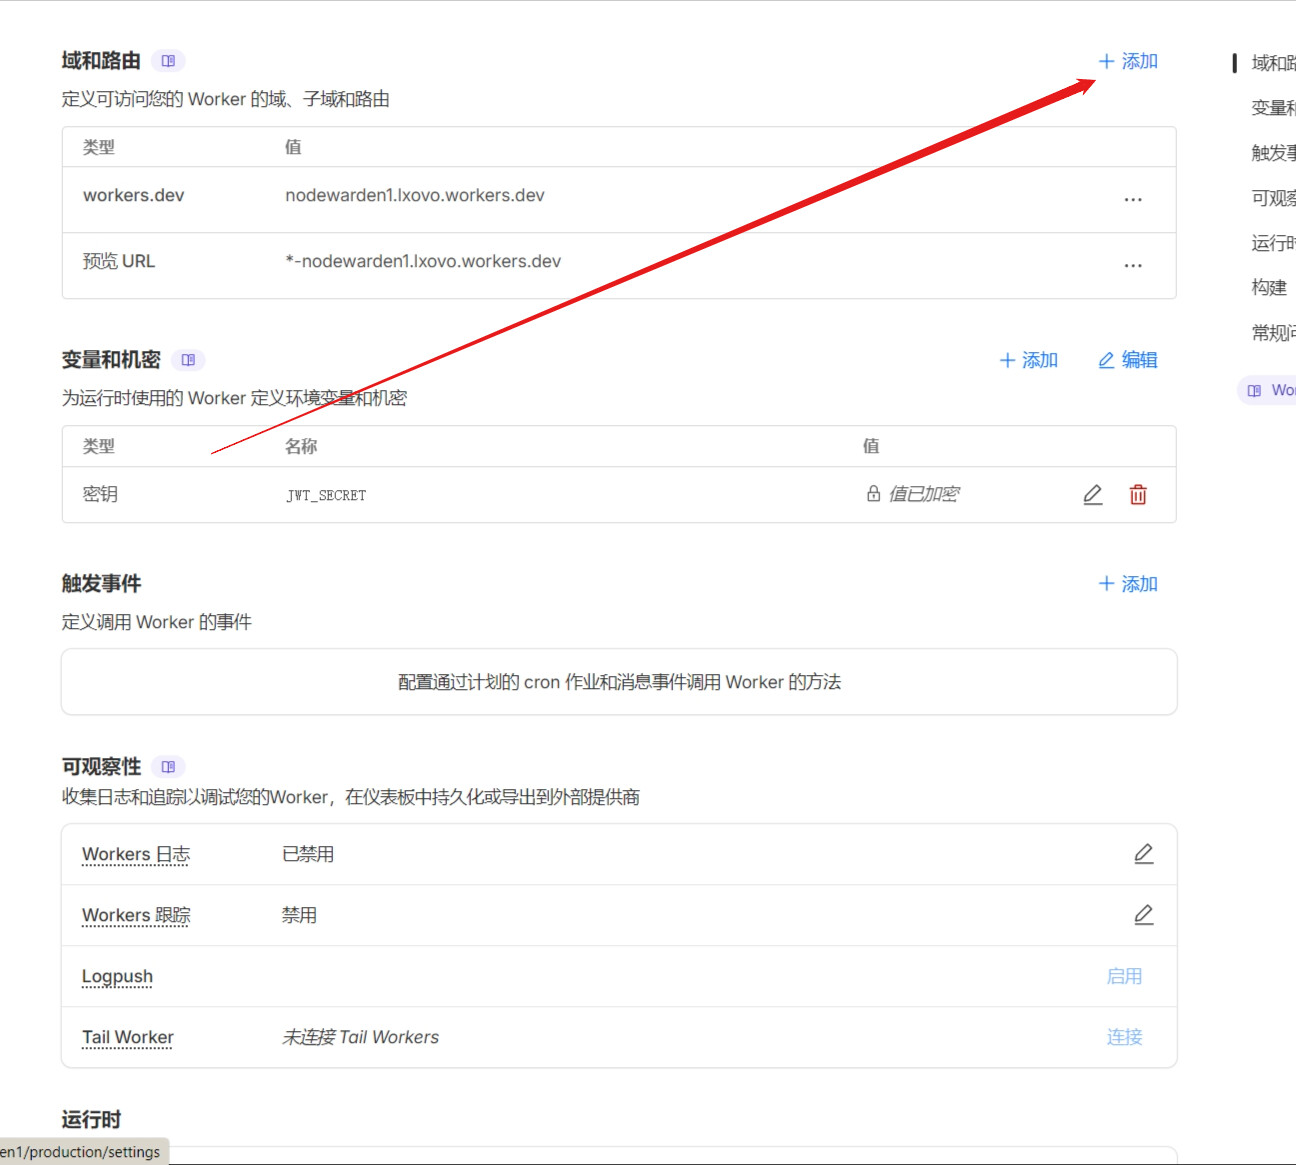
Then click Variables and Secrets:
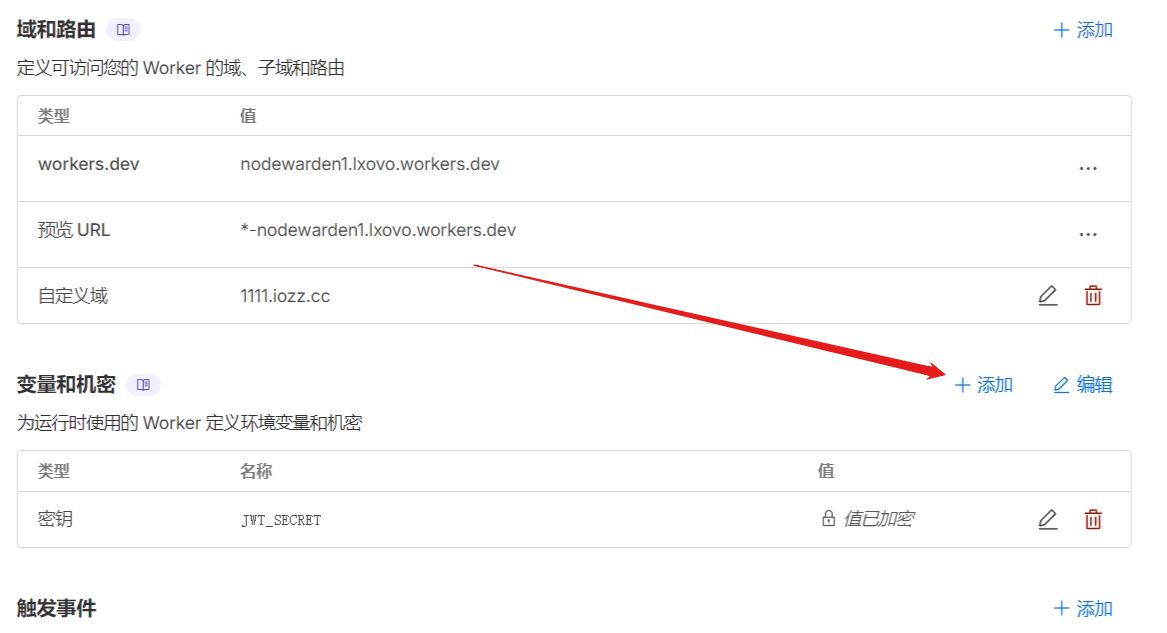
Open your domain, find this, and copy it:
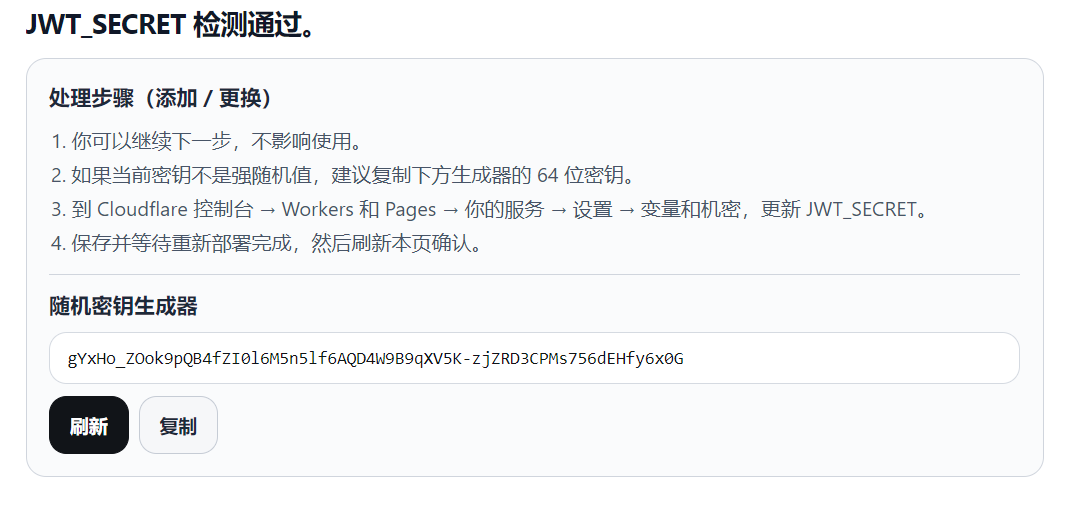
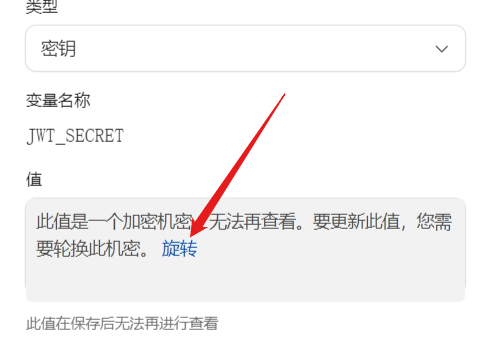
Paste it here:
Then refresh the webpage and enter your account and password.
Usage Tutorial
I’ll use Edge as an example.
Open the Bitwarden official website and download the extension for the corresponding browser:
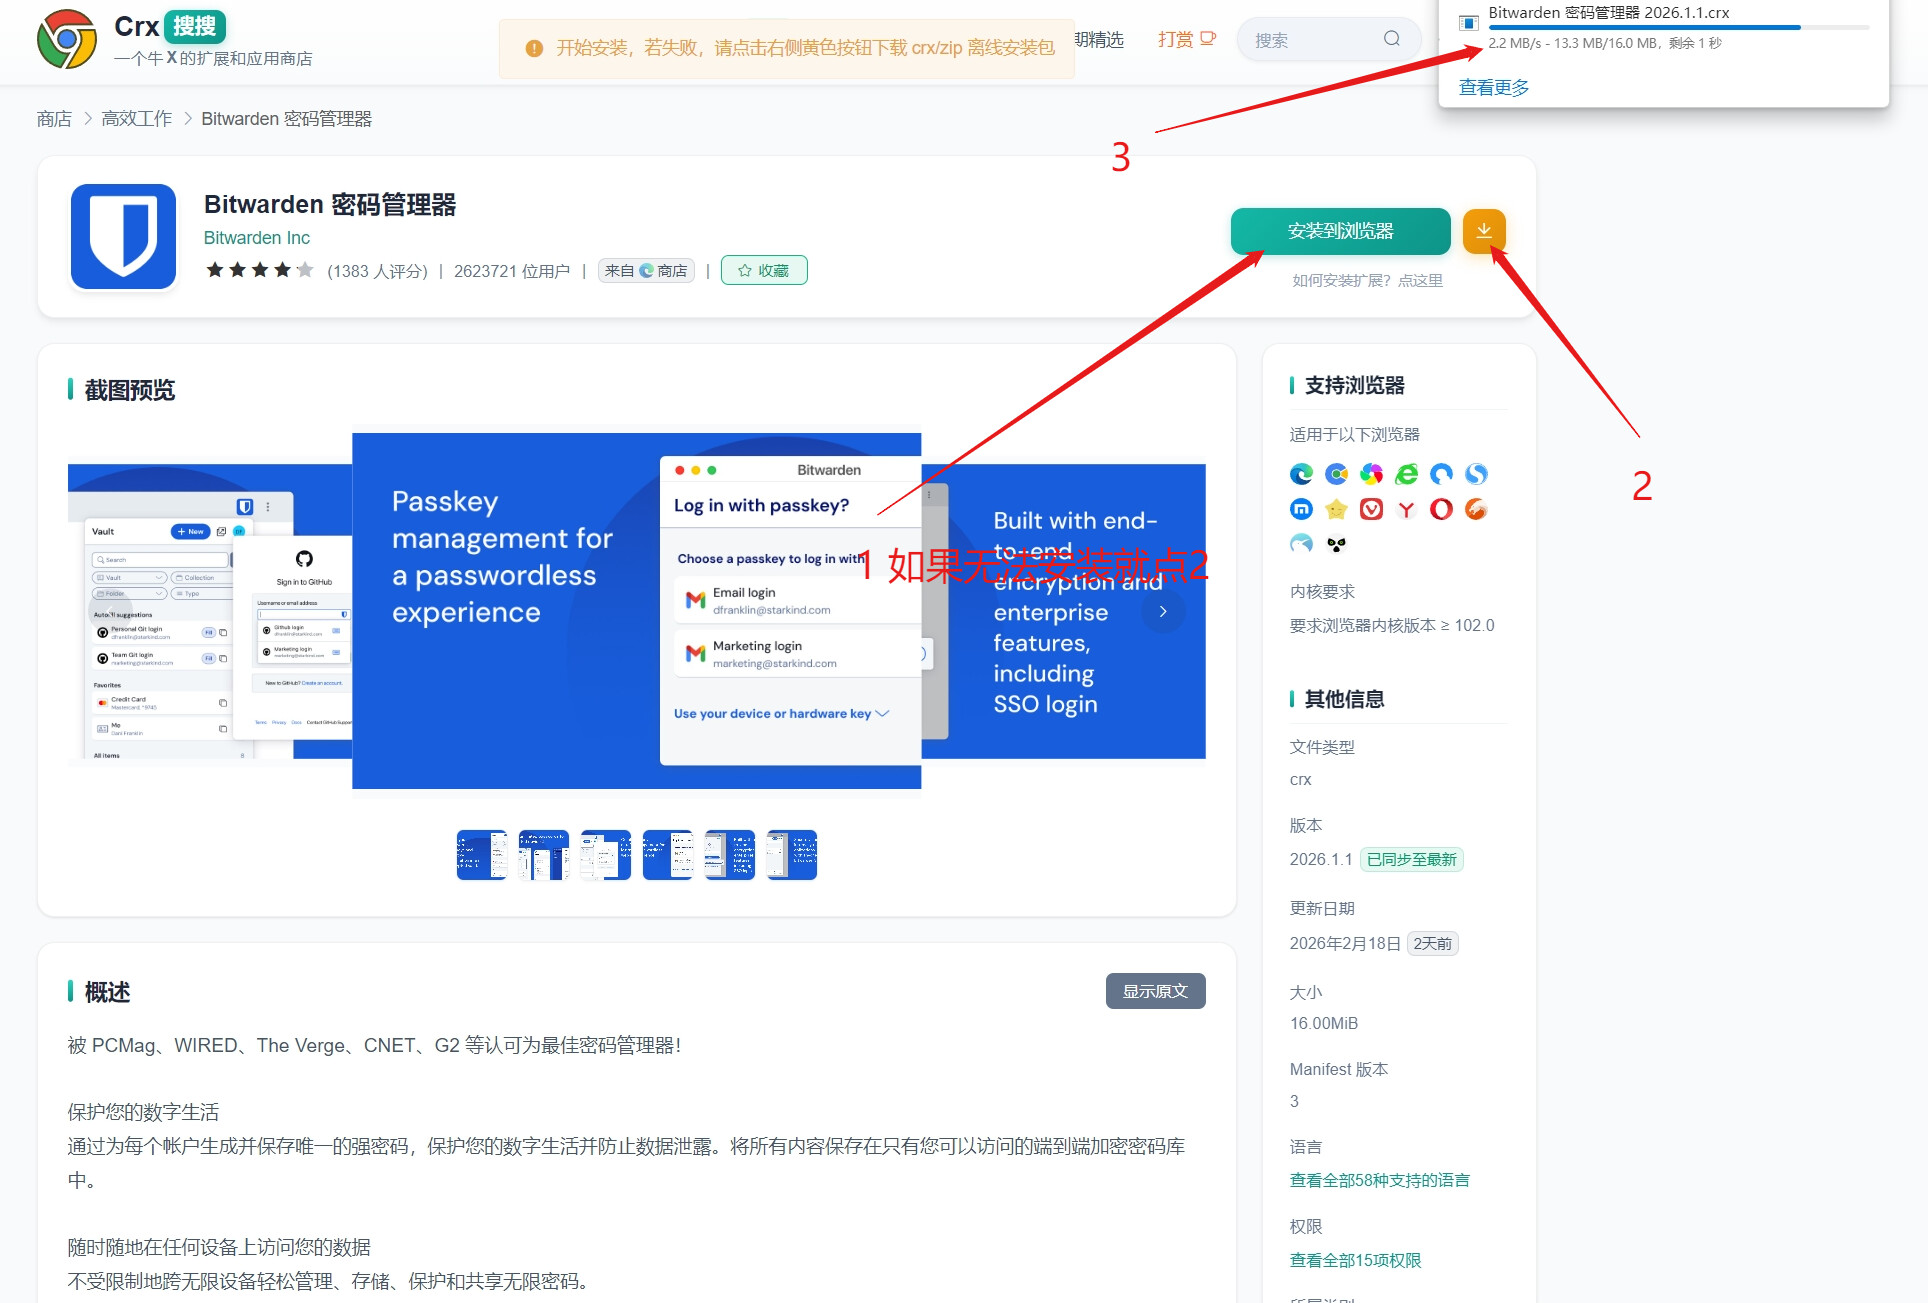
Since I’m not using Chrome, I can’t install it directly with the button. Instead, it downloads a file called “Bitwarden Password Manager 2026.1.1.crx”. Now open Edge’s extension management page, as shown below:
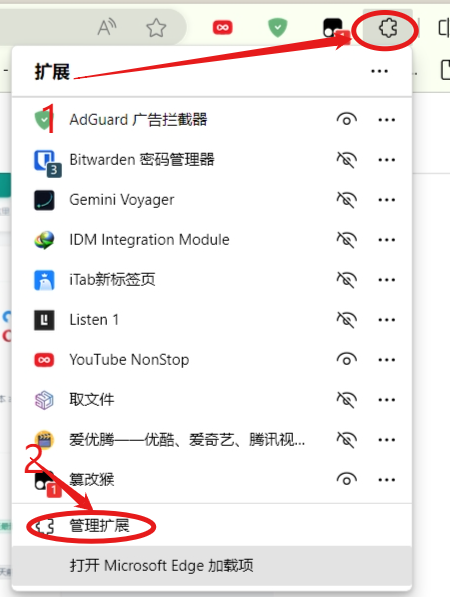
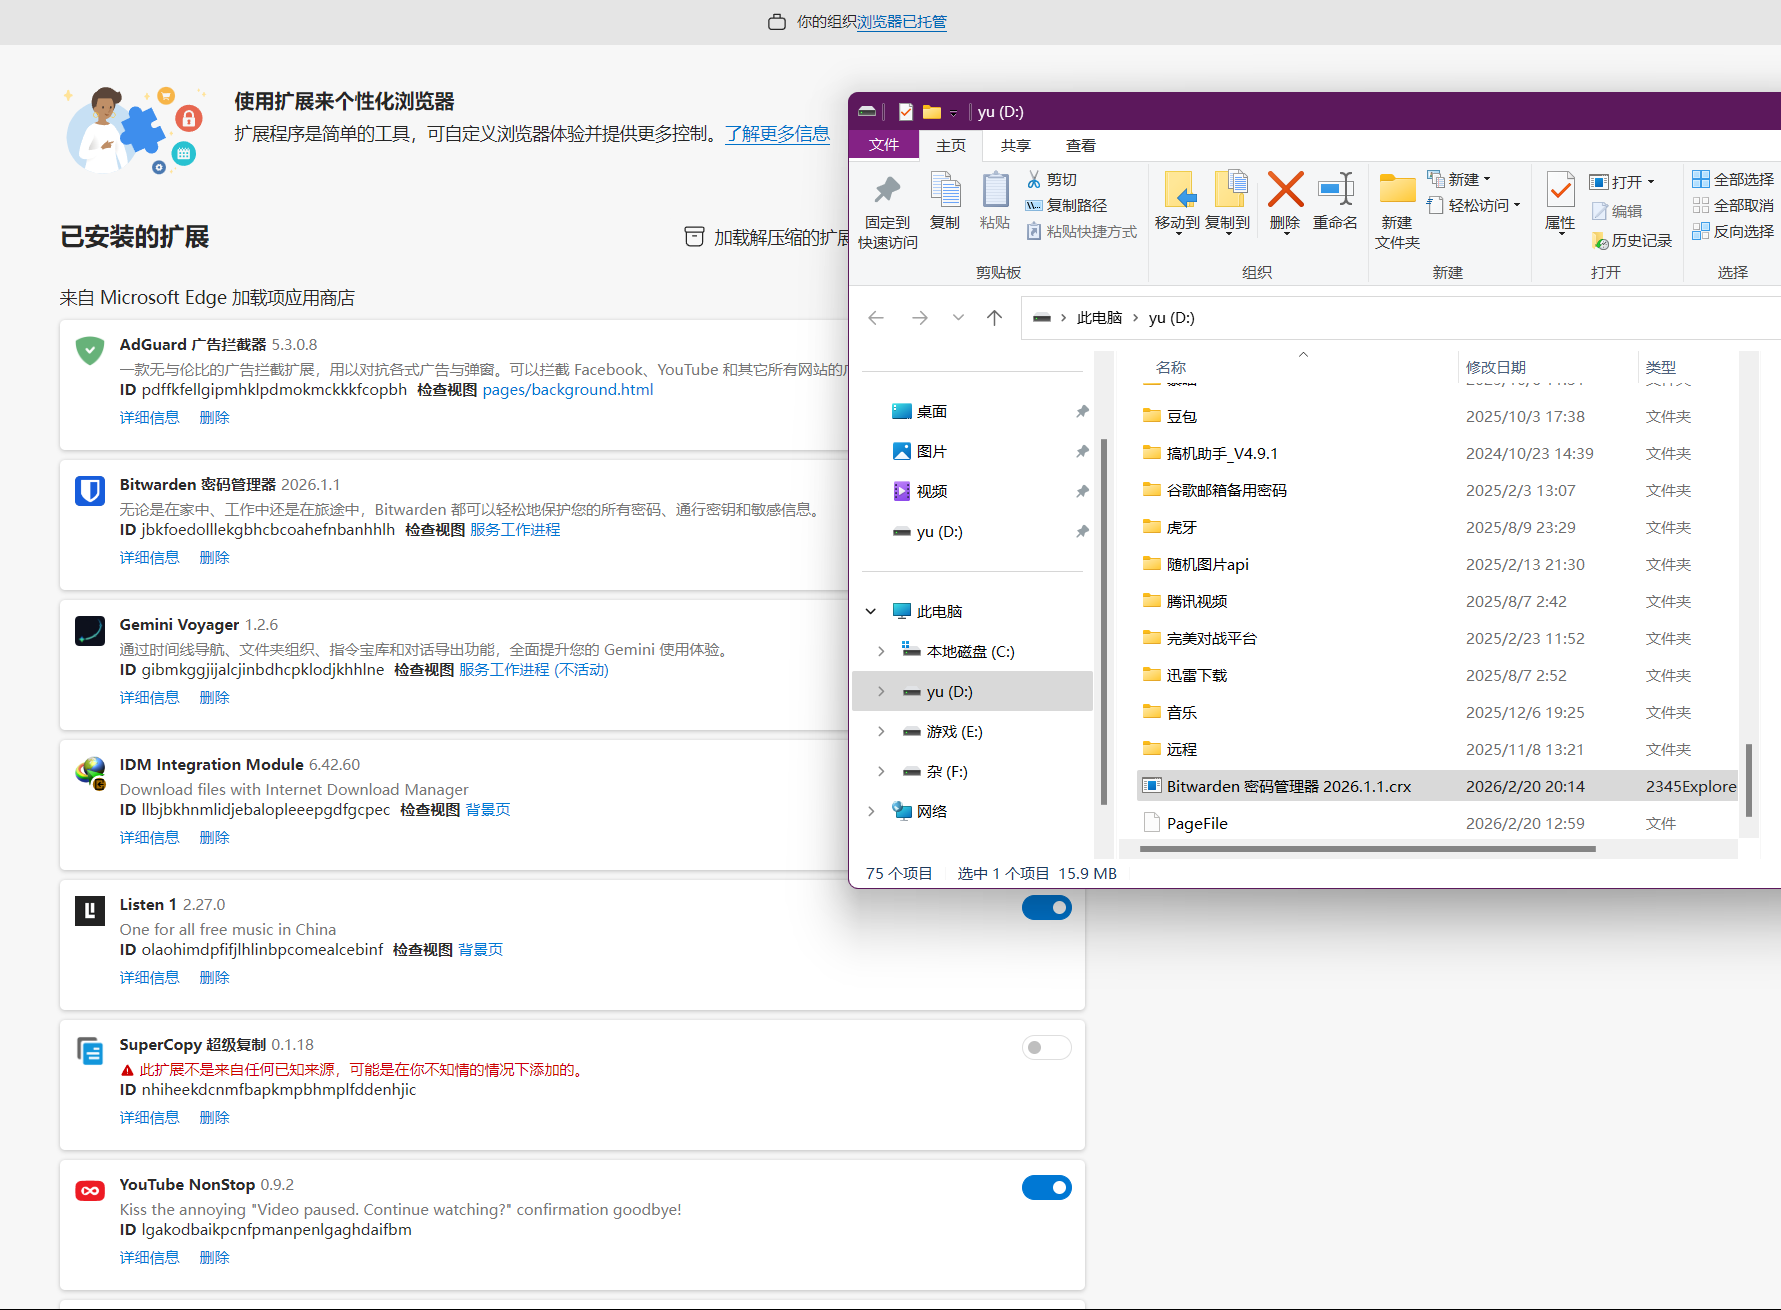
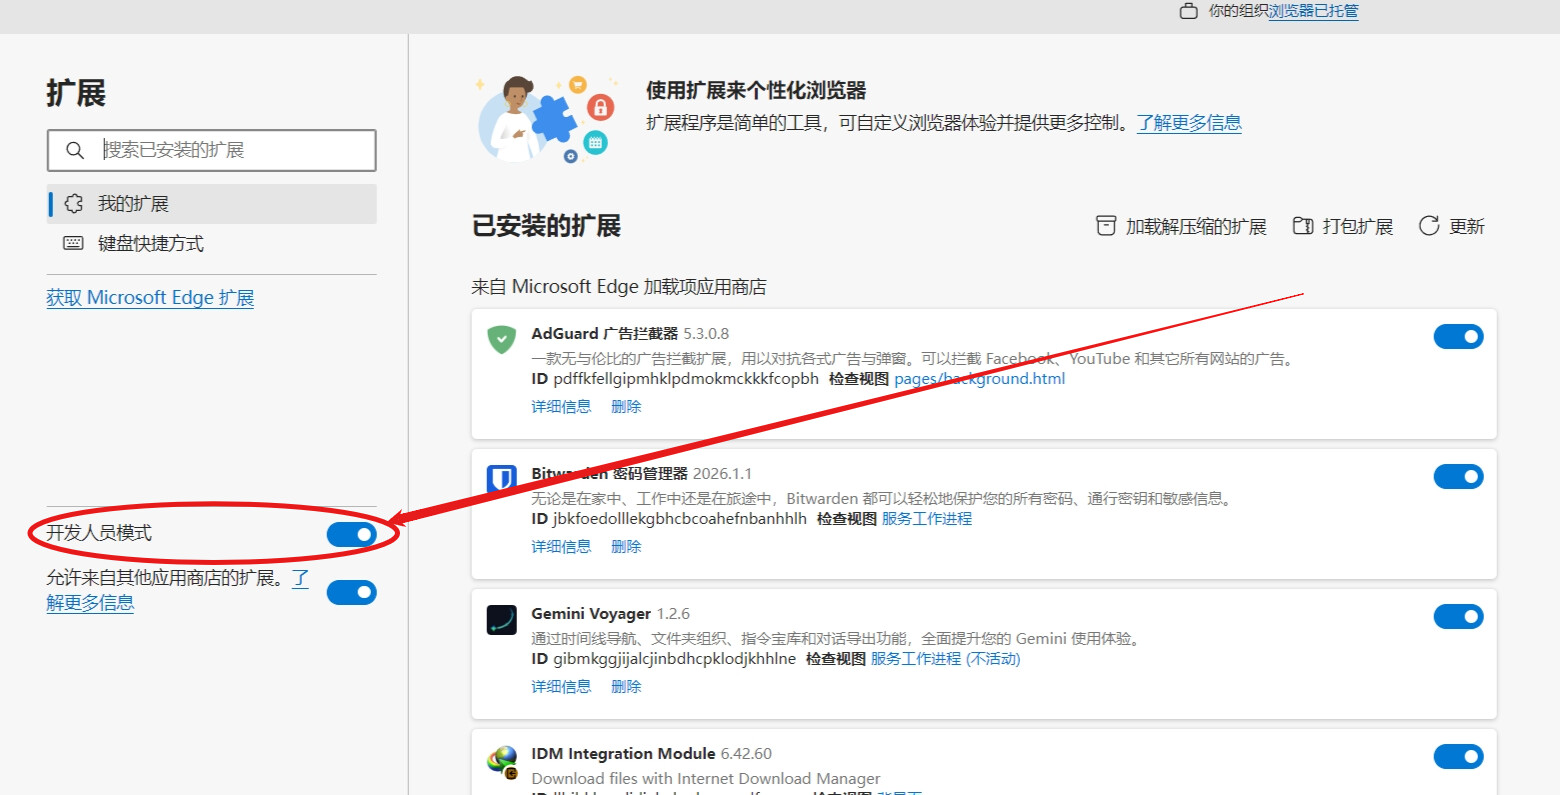
Simply drag the file into the extensions area to install it successfully. If it doesn’t work, you can enable Edge’s developer mode, as shown below:
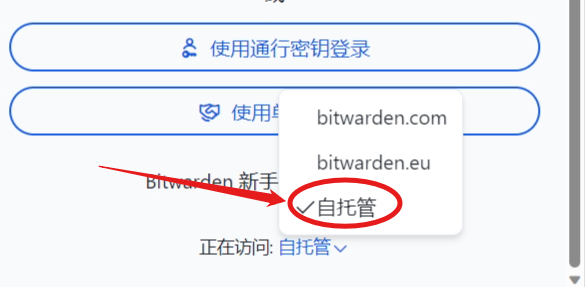
What should you do if you find that you can’t log in with your account and password after opening it???
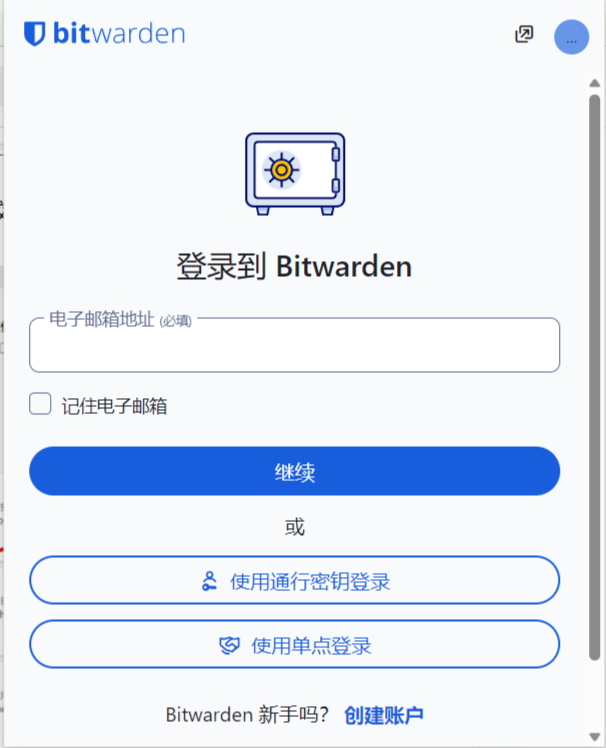
Scroll down, click Self-hosted, enter your website address, and then enter your account and password: